Monday 28 October 2013

New Baby..

Post 25
As you've probably guessed todays card is for a new baby...Girl!
The base is Centura pearl card cut from the Karen Burniston Pop n Cuts base. The backing paper is from Pink petticoat , a collection called 'Vintage rose'

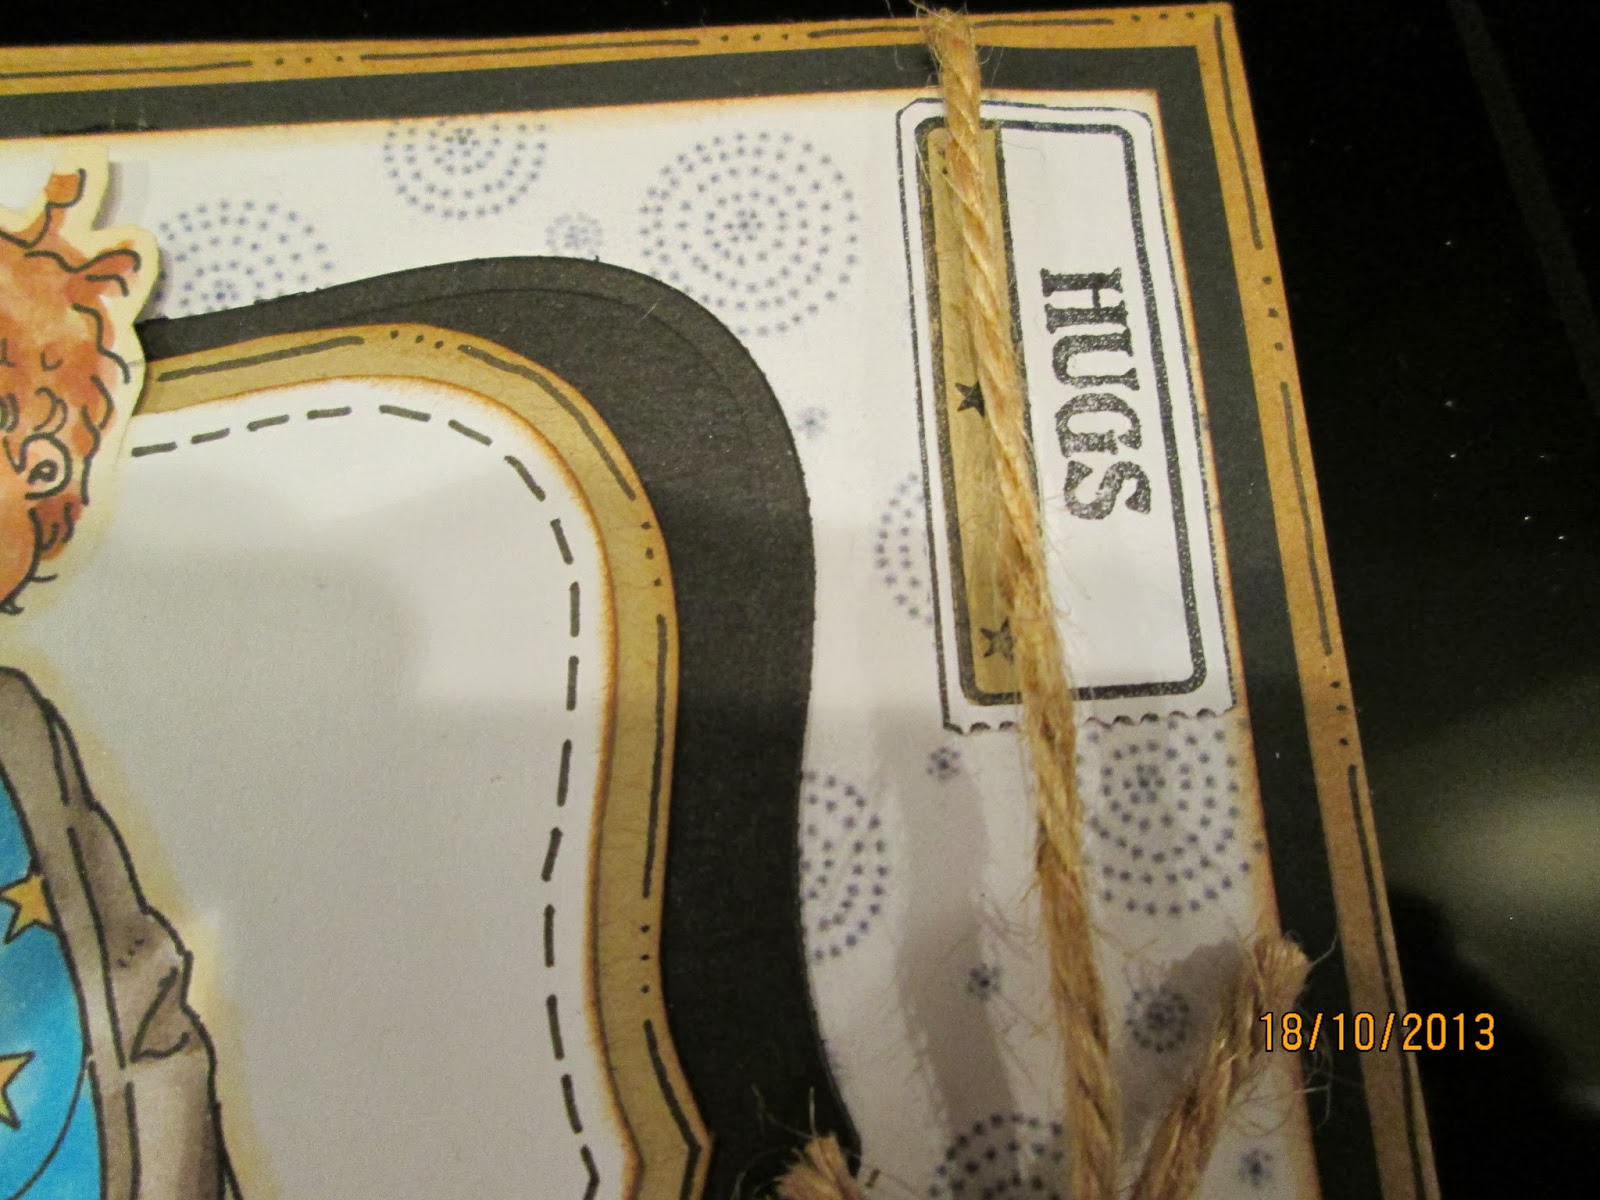
 The wording is stamped from the letterbox set by Clarity Stamp. I cut the kraft card using a spellbinder border die and laced some pink organza ribbon through it.


I used the sizzix Tattered florals die to cut the flowers, with self adhesive gems in the centre.


The image I used on the pop up inside the card is 'Spit Happens' from Mosdigitalpencil, coloured using my pro markers, and cut out using a spellbinders label die then matted onto pink paper, then centura pearl card. And decorated with more die cut flowers.


Hope you like todays card.
Clair xxx


Saturday 26 October 2013

Get Well .....

Post 24  WoW! 2 posts in 2 days...........don't be expecting anything for a while now!!!
Todays card is one I made for my big brother in law who had to go to hospital for a few days....all well now!
The base card is a 5x7 kraft card, matted with some papers I found on my computer....don't know where they came from. Each piece has been matted on to some black cardstock.
The fabulous image is from Mos digital pencil called 'Needs Mummy .....isn't he adorable!


I coloured him using my pro markers. And cut out the image with  labels 8 from spellbinders, matted onto a faux nestie of kraft then on to some black.


I used the Letterbox set from Clarity stamp for the wording. 


The top corner just needed an extra something so I used some twine around the card, a Hugs and ticket stamp from LOTV

The card was finished off with the faux stitching around everything!!!!
Hope you like todays card.
Clair xxx


Friday 25 October 2013

Simple birthday...

Post 23
Todays card is for a friend of Mums. The brief was a simple, contempory postable card.
So having browsed pinterest  ( favourite, go too site to set the creative juices flowing), I set too with my card.
I decided I needed to use my Chocolate Baroque 'Sunny sunflowers', stamps as they haven't been used as much as they should.


My base card is a 6x6 white card, matted with some brown coredinations card then some blue paper I printed from Craft artist 2.
I'm always a wreck when I'm stamping direct onto the card but the greeting was tested several times to make sure it was mounted on my acrylic block straight!....it turned out ok!
The sunflower was stamped, with a brown memento ink, onto a separate sheet of paper and coloured with my pro markers, then cut out.

Then butterfly, a spellbinders die from years ago, was cut in the blue paper from the back layer and white for the top...this was inked through the die with Broken china distress ink, then some skickles to add some glitter, it was then stuck to a brown blossom die cut then positioned in the centre of the flower.
The card was finished off with some self adhesive gems

On the insert I stamped the greeting then felt it need something more.....so I repeat stamped my sunflower, and other flowers on the stamp plate with second generation 'Antique linen' distress ink.
Hope you like todays card.
Clair xxx

Saturday 19 October 2013

Wedding day.

Post 22
This is a card I did for my nephew who got married last weekend.


The base card is  centura pearl onto which I've matted some more centura pearl that has been pierced all the way round.  The pattern paper has been in my stash for years, it's from the Die cuts with a view paper stack called 'Love and Wedding' .
The image is a Saturated Canary digi stamp called 'Marry me'.


She is coloured in using my pro markers...ivory and satin for the dress.


The flowers, from Wild Orchid crafts, were arranged on top of an 'Elegant flourish' from Sizzix. In the corner is a calender stamp from Lili of the Valley, highlighting the date by circling the 12, a couple of hat pins from Creative expressions and a few self adhesive pearls finished the card.

Once I printed my greeting I found I had cut my paper too short, so I added some of the pattern paper and covered the join with more satin ribbon, and added more pearls under the quote.
The card need a box, so the centura pearl was used.

The box was decorated using more pattern paper cut into hearts and the bride and grooms name in the corner.


As for gift, the couple wanted money so a gift wallet had to be made. I found a tutorial on you tube...marvellous...the pop n cuts gift card holder
I used co-ordinating papers, of course, a couple of flowers and a heart shaped brad which doubles up as a closure.
Hope you like todays card.
Clair xxx
Thought I'd join the Ribbon girl challenge 'Anything Goes with LOTV',
And Crafty Ribbons with 'Anything Goes with ribbon'


Thursday 17 October 2013

100 years young....

Post 21

This is a card I've made for a lady to give to her 100 year old friend.....wow! Her name is Iris, and I was asked to include the iris flower on the card. Thanks to my Sheenie friends, I was able to find an iris image on the Pam West 2 cd rom from Joanna Sheen.
The backing paper was right there alongside the image on the cd. Both the topper and backing paper were matted onto some deep blue core-dinations card. Then onto a 7x7 card made of the beautiful Centura pearl . The card was then decorated with die cut flourishes from the Tim Holtz 'Elegant Flourishes' from sizzix. The flowers were all in my stash probably from Wild Orchid crafts.....beautiful!
The word 'Iris' was also cut from centura pearl using the 'First Steps' sizzlits dies from sizzix.
On the insert I used more of the iris image, brought into Serif Craftartist and faded out somewhat to allow the sentiment to be visible. The sentiment is one I found on the 'Imag-e-nation' website.
Of course  a card this size and embellished to within a inch of it's life need a box......out came the centura pearl, again.
With more of the Iris image and a Birthday greeting on the lid.

Hope you like the card. 
Clair xxx


Friday 4 October 2013

If the shoe fits....

Post 20.
A card for a shoe mad lady...is there any other kind!!! My soon to be cousin  in law (I think I've just made that up), but that's how she's going to be related to me!!

I kept the colours really simple. The stamp and sentiment are from the Creative Expressions 'If the Shoe fits' stamp plate.

Simply stamped in black archival and cut out using a spellbinders label die, then matted onto black card. As an after thought I dotted some glossy accents onto the dots and heel of the shoe (sorry no photo) but believe me it just finished it off. The flower embellishment is from Wild Orchid crafts,  one of their delicious sweetheart blossoms. The sentiment, also cut with the label die and matted on to black card.

The card was completed using some blue ribbon and co-ordinating self adhesive pearls, and of course some doodling with my fine liner pen was a must.

The insert had one of the smaller shoes stamped into it and a sentiment from Lili of the Valley.
Hope you like todays card.
Happy crafting.
Clair xxx

Thursday 3 October 2013

House mouse

Post 19
After enjoying myself with my new Pop n Cuts die from sizzix (Karen Burniston) . I NEEDED another insert, so being in a family of huge tea drinkers I bought the cup insert.
This House mouse image from the decoupage set by Joanna Sheen was the perfect first card.
The base card, some Coredinations cardstock, has been cut slightly larger than the pop n cuts base, purely to accommodate the size of the image. The meeces were matted onto some yellow coredinations, before being attached to the base card. The organza ribbon was added once the decoupage glue had dried but before attaching the insert.

I cut the yellow mug using the insert die and matting it on to my inset. The mouse was part of the decoupage page, but I thought he looked cute presenting the 'Cocoa' logo. The lettering was cut cut from the 'First steps' sizzlits dies. My steam, as Karen Burniston demonstrates in her many videos is a 'Movers and shapers' die.

The sentiment was one of four to choose from on the decoupage sheet.


This is just a close up of one of the mice.......obviously having a major sugar rush, eating all the marsh mallows!!!!! Lovely.
Hope you like.
Happy crafting.
Clair xxxx

Wednesday 2 October 2013

Carol Singing

Post 18
Still feeling festive, so I dug out a beautiful stamp from Lili of the Valley , called 'Carol Singing'. I thought I'd have a go in the monthly challenge over at LOTV which has the title 'Anything Goes'...how can you resist. Click the picture to go to the challenge....


I decided to limit my colour palate, so went with a black base card, and use the warm greys and a few reds from my promarkers to colour the image.

I matted it onto some black, then some centura pearl card. The poinsettias are die cut and embossed  from the Layered Poinsettia,die from Spellbinders.

Into the centres just a few black self adhesive stones.

I've used Star Dust stickles for a bit of glitter on the hat. And to finish the 'NOEL' stamp from LOTV 'Grunge Christmas Postmarks' is added as a tag.
Inside the sentiment is also from LOTV, the 'Christmas circular sentiments', and to finish the little carol singer cut out and wearing a co-ordinating red coat and glittery fur .
In for a penny in for a pound, after looking at other entries at LOTV , thought I may as well enter the card into the 'Passion for Promarkers' challenge. Well with all the legs...why not!
Hope you like.
Happy crafting.
Clair xxx


Tuesday 1 October 2013

Christening.

Post 17
Todays card is a Christening card. The brief was.....the girls Mum was a rugby fan, the girls Dad was a football fan....the little girl is VERY girlie, go with the girlie for the card. Phew!!!! I couldn't imagine incorporating football and rugby into a christening card!!!

                                       
My image came from a retired cd rom of Joanna Sheens, 'Baby Love'              

                                   
I matted the image onto some ivory centura pearl card, and did some paper piercing around the edge, followed by a black matt. The backing paper which accompanied the imaged was cut with a spellbinders die, label 20 I think. I tried making a faux nestie to matt this onto, but I wasn't happy with my cutting out,so I cut a matt with the same sized die then off set it behind the decorative paper to give it a shadow effect, I repeated this with the tags and labels. The backing paper was from the free digikit , 'Daydream' that came with my well loved Craft Artist 2. I had to recolour it to co-ordinate it with my image.

                                    
I decorated the rest of the card with various flowers and pearls from Wild orchid crafts. The butter fly was cut from an old spellbinder die ,and embellished with self adhesive pearls.

                                    
Because of all the embellishments, a box was required. This I made using more centura pearl cardstock. I decorated it with another butter fly and the name of the little girl whose christening it was. The letters were cut from the sizzlit alphabet called 'First Steps'


Hope you like.
Happy crafting.
Clair xxx