Monday, 14 July 2014

The other sister card....

Post 86
This is the second card I'd made for my Mum to send to her sister....see post 85.
I thought I'd try to get away from A6 cards for a while so this is a 6x6 square card, matted with black and green card.
The wonderful image is from the Chocolate Baroque stamp set called 'Mackintosh Beauty'.

Being in watercolour mode I stamped this image on water colour card and used my Distress markers to colour it. I've tried many times to go direct to paper for water colouring with these pens, but it just doesn't work for me. My favourite method is to scribble the colour onto a white tile and use a brush to apply to the paper.


I've seen on you tube  recently sentiment dies being cut out numerous times and built up so it gives the impression of a chipboard word. So I thought I'd do it here. The individual letters were die cut 4 times, 3 in white card the top layer in black. I think the faffing about sticking the letters together was completely worth it and I will be using this again.


The image needed a little more than being matted onto black card, so I used some glossy accents on the flower heads.


Hope you like todays card.
Happy Crafting .
Clair xxx

Saturday, 12 July 2014

A couple of nuts!!!!!

Post 85

This card is one of two I made for my Mum to give to her sister....she couldn't decide which she liked best so she gave her both!!!! The second card is lined up for Post 86.

The stamp set I used is a Lawn Fawn clear stamp called 'Into the woods'. I found the sentiment on Pinterest, and couldn't resist. This was printed out and chopped up to fit the card, then some faux stitching around each section.

All but the nuts were stamped on white paper and coloured with promarkers. The nuts I stamped on another piece of paper so I could cut them out and stick them to the card on foam pads.


I coloured over the little heart speech bubble with a clear sparkle pen from sakura.


I got a little carried away with the stamping and the back of the card was decorated with the cute birds.
Hope you like todays card.
Happy crafting.
I would appreciate any nice comments you wish to make.
Clair xxx

Friday, 11 July 2014

Floral tag.

Post 84

Another card similar to post 82, just this time with a tag shaped twist. The base card , A6 tent fold.....all corners chomper this time!
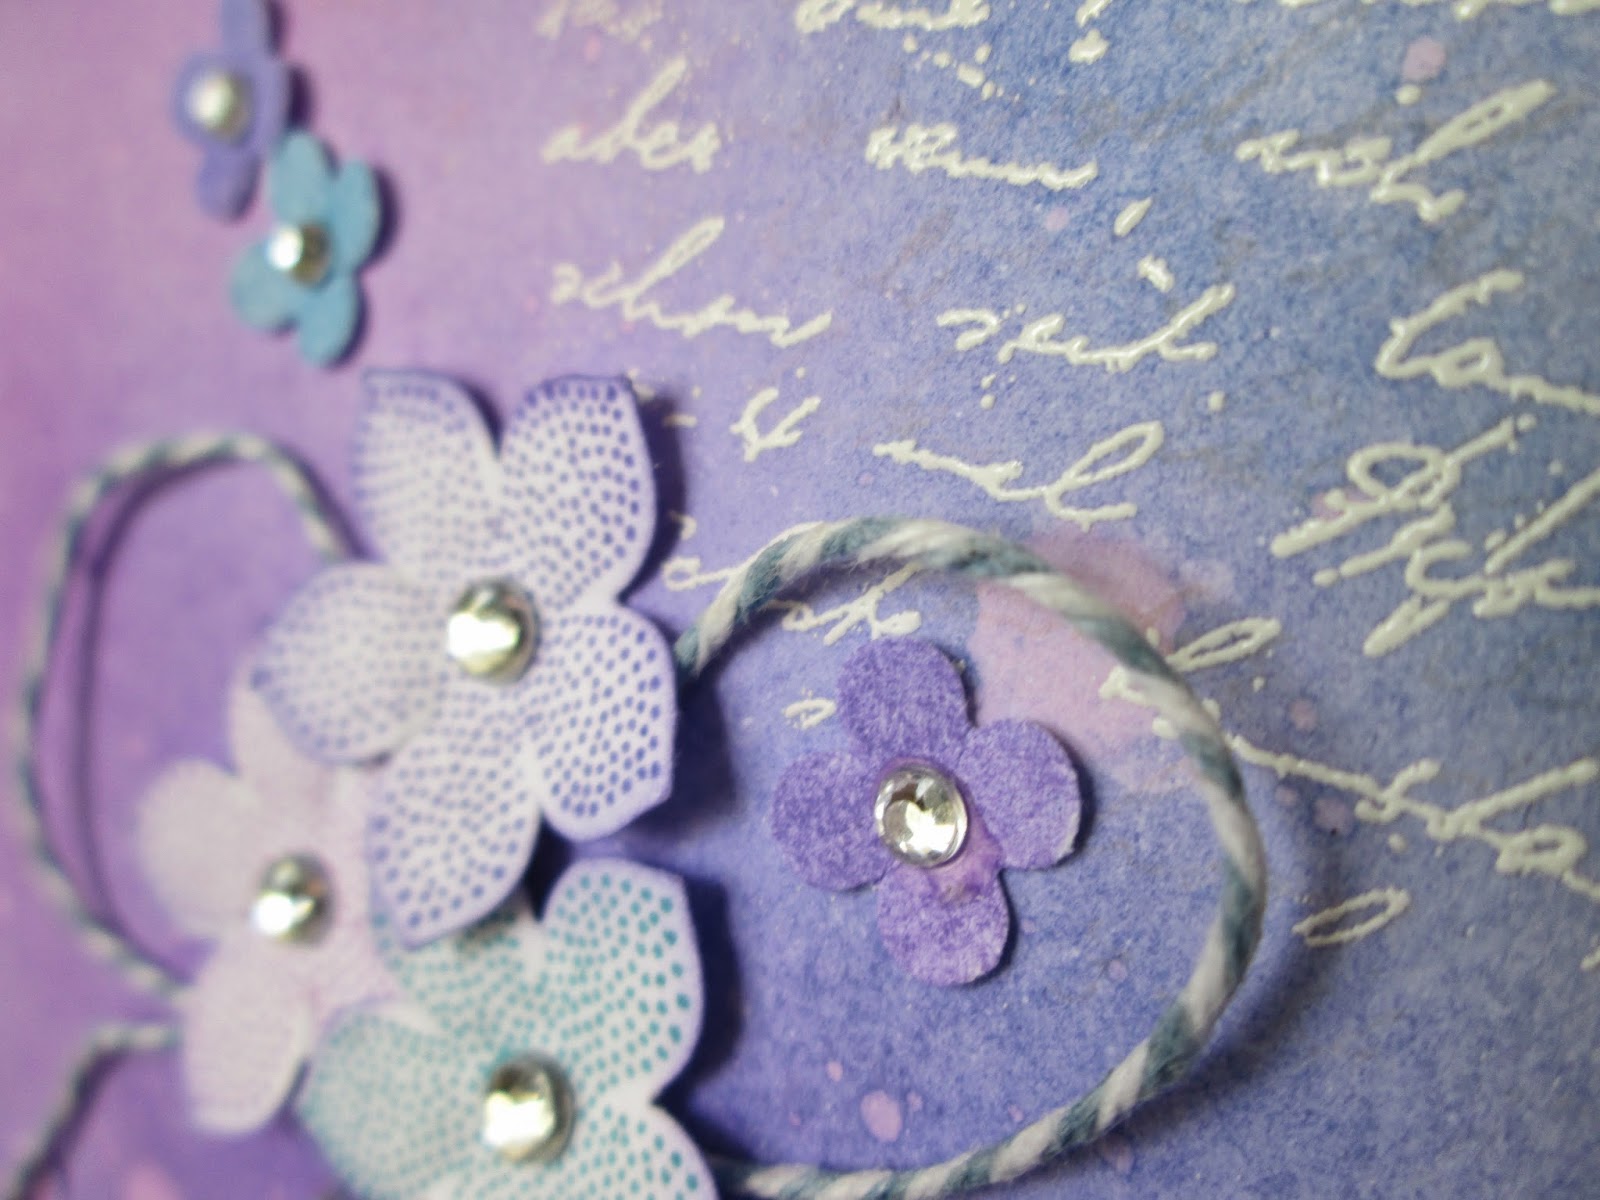
A black mat with a water colour background. This time the ink pads were squidged onto my craft mat, spritzed with water and the paper smooshed about in the watery ink until I got a background I liked. I dried the paper a couple of times then it went back into the ink. Not quite finished I felt the background needed more, so after a good drying, and a rub with my anti static bag, I stamped some script and embossed it in white.

I cut out a strip of card and punched the top with Stampin ups tag topper punch (love it), punched out some flowers from the excess card, from my background, a few loops of bakers twine and a black embossed sentiment.


Hope you like todays card.
Happy crafting.
Clair xxx


Thursday, 10 July 2014

Paper Smooches......love it!!!!

Post 83
I know they've been around for a while, but I've just discovered the delights that are Paper Smooches. This card is made using the stamp set 'Cyber cafe' and 'Bold Buzzwords', many of their stamps have co-ordinating dies.....my wish list is always growing!!!!!


Once again the card is A6, but this time landscape...hurrah for change!!!, although my corner chomper is still close at hand, but it adds a nice finish to the card shape I think. The paper I've used is from the First edition pad 'Silent Night'....festive delights BUT an all year round pad as well...my favourite kind of paper pack.
I used strips of paper along the bottom of the card, and doodled all around. 
The sentiment was stamped and embossed in black. 
The cups were stamped onto scraps of the paper, the one on the right pattered using one of the little stamps included. I postioned them on the card so I knew where to stamp the steam. I finished the card off with a good dollop of glossy accents to make the cups shine.


Another cup and more faux stitching on the inside of the card. Oh! and a cup ring just under the sentiment.


Hope you like todays card.
Happy crafting
Clair xxx

Wednesday, 9 July 2014

Combining the last 2 posts!!!!!

Post 82
I didn't realise, until writing this, that I have combined stamps from my last 2 posts......hey while the goods are at the front of my stash , why not used them.
The card is an A6 tent fold, think I'm in a rut!!!!. Matted with some dark blue coredinations card.

The stem of the flower is from Justrites 'Floral Thank You' stamp set, I masked the flowers and just inked the stem using the Adirondack Lettuce ink.


I stamped the flowers, Petite Petals from Stampin up, in Cranberry Adirondack and Memento Paris dusk. Then punch them out, using the co ordination stampin up punch.


The greeting is from the JustRite 'Fleur De Lis Labels Twenty' set, stamped in Mementos 'London Fog'


I used the half inch side of the  WRMK corner chomper on one corner of my card and it's layers before sticking my card together.
Hope you like todays card.
Happy crafting.
Clair xxx

Tuesday, 8 July 2014

A couple of floral delights....

Post 81
Another card inspired by a crafty you tuber....this time Sam of pootles.co.uk . The layout and stamp/ punch are the same....the background is all me!!!!!!
I once again started with an A6 tent fold card onto which I matted some paper I had inked the edges of with some Peeled Paint distress ink, I didn't have the right coloured green card for my mat!
  My main background is some water colour card, I stamped some script around the card ( a stamp I've had for years!) in the distress ink Worn Lipstick

I then squidged my worn lipstick and peeled paint ink pad on to my craft sheet, added some water and splattered my paper with each of the colours. The background was finished of with some of the worn lipstick being inked around the edges, and the sentiment stamped and embossed.


I stamped the flowers in the same inks then punched them out with the co-ordinating punch. Petite petals stamps and punch from Stampin up. I coloured a length of thread with the peeled paint ink and stuck it on the card in 3 loops, then covered up the adhesive with the flowers. Each flower has a gem in the centre to finish it off.


Same card with different colours, and white embossing in the background. I used distress inks again so the splats were done with water then mopped up with some kitchen towel, leaving little colour free puddles.


Hope you like todays cards.
Happy crafting.
Clair xxx

Monday, 7 July 2014

Back to blogging!!!!!

Post 80
Hi guys...haven't been paying attention to the old blog for a while, doesn't mean the crafty mojo has gone all together. I have a few cards lined up so stick around, for the next few weeks anyway!!!!
This card was inspired by watching some of Karen Werners You tube videos....highly recommend you check these out.
This is a pretty generic card I made using the Just Rite stamp 'Floral Thank You'
The card base is cut as always from Centura Pearl card, it's an A4 piece cut vertically , then folded to make a top folding A6 (14.8 x 10.5cm) or 5.5 x 4.25inch if using U.S letter size. 


I stuck strips of co-ordinating paper from collection, on to a piece of paper to make the striped centre. I inked the edge of  each strip before attaching it to the paper. This made a pretty back drop for the flower. This was stamped in versamark ink and embossed with white embossing powder...as was the 'Hello'
sentiment. 


Inside the card is stamped a greeting from the Stampin up 'Love Label' stamp set ( don't know if it's still available!)


Hope you like todays card.
Happy Crafting.
Clair xxxx
Please leave a (nice!!!) comment it's much appreciated.