Saturday, 15 February 2014

Been Playing!!!

Post 47
That is, I've been playing with my stash but not making cards.
I enjoy having a look around you tube for different projects to do with my stash. This is another from Pootles Papercraft which I've really enjoyed doing. The video link for the notebook holder is HERE. I'm sure I'll be trying out more of Sams designs. 
As you can see I went a little potty with the note books...and these aren't all of them I gave two away before  got around to photographing them. 
All the papers are from my digital stash, from Pink Petticoat, Funky Hand, Crafters Companion etc etc.


I'd made one for my older son , so of course I had to do one for my youngest!


Once Morrisons had been wiped out of jotter books , I started on the post it notes!!!!! Again from You tube the size of the covers were perfect for using the printed paper I had left  from the notebooks (I'd only printed an A5 piece of decorative paper!) HERE's the link for the post it cover tutorial.


Hope you like todays post.
Happy Crafting.
Clair xxx


Monday, 10 February 2014

A lack of Mojo!

Post 46
Good Morning blogland.
Today just a quick post.
 I was lacking in mojo last week, so I went for a saunter around Pinterest, and found a beautiful, simple card from Jen  Nelson.
So I thought I'd get my mojo back on track by trying to reproduce Jens lovely card.
I printed off 6 sheets of the Big Dots paper from Pink Petticoat, all different but bright colours.
Each image was stamped and coloured, with promarkers, to co-ordinate with the chosen dotty back ground. All the ribbons were found in my ribbon tangle...the free purple one from a lush box of Cadbury's is one of my favourites!
The sentiments stamps are from  various stamp plates I have.
The cards were finished off with a variety of doodly stitches around the white paper and the dotty paper, and self adhesive pearls in the centre of each flower.


Hope you like todays cards.
A big Thanks to Jen and her post, for getting my mojo kick started.
Happy crafting.
Clair xxx


Sunday, 9 February 2014

Love this lady..

Post 45
Good evening crafty friends.
 Todays card is another with the 'Macintosh Beauty' from Chocolate Baroque.
No colouring involved in this one!
I decided to keep things fairly simple, the lady is stamped and gilded with the Cosmic Shimmer Gilding flakes, from Creative Expressions, the set I used is called 'Sunlight Speckle'

For the best 'Wow' I just had to gild the image on black card.


I tried to keep the silver flakes on the face and gold on the bouquet of flowers.


Then I lost patience with the flakes fluttering everywhere and the rest of the image was randomly covered!!


I printed the sentiment and matted it on to black, and added some gems. The cream and black ribbons added to give more texture.


On the inside of the card I printed off the Happy Birthday, and then I remembered some stamps I bought, at least 8 years ago, Macintosh style. I used the little one on the inside of the card.


And the larger image on the back.


This is not the last time you'll be seeing this stamp here...I just LOVE it.
Hope you like todays card.
Happy crafting.
Clairxxx


Wednesday, 5 February 2014

Mackintosh Beauty...

Post 44
And she certainly is a beauty, I couldn't resist this new stamp set from Chocolate Baroque, 'Mackintosh Beauty', I HAD to resist buying the other stamp plates that compliment this one.....but they'll be there for another day!.


I coloured the image with pro markers. I decided to keep the colours soft on this one.


On the background I stamp and embossed in white, a couple of images from the stamp plate.
This was matted onto some apricot  coredinations.


The sentiment I printed off my computer, matted it and embellished it with some of the roses I cut out and decoupaged.


The insert simply had the single stem, coloured, and a sentiment with more roses just on the corner to frame it.


Hope you like todays card.
Happy crafting.
Clair xxx


Tuesday, 4 February 2014

Lovely Lighthouse

Post 43
Todays card came about because I wondered onto the web site of Tiddy Inks, and fell in love with their digi stamps.......love digi stamps, instant gratification!!!!!! I bought a couple and a couple were free, Marvellous!

This one is called 'Light my Life'.  The colours I chose were  Red , white and blue, you just can't go wrong!
The Lighthouse has been coloured using pro markers. It's matted onto some blue coredinations cardstock. Then onto the red. The blue card is just a strip which has been punched with my envelope punch board to make a tab, perfect for my sentiment.


The windows of the light house and the joining house have glossy accents applied.


The whole card has been doodled on to finish it off,  2 eyelets set in the top corner, and a short length of blue and white bakers twine along the bottom of the card.


On the insert I printed a faded version of the image, and a small version to colour in the corner...


Hope you like todays card.
Happy Crafting.
Clair xxx


Sunday, 2 February 2014

Adventures....

Post 42

Todays card is a male card. The image is from Mosdigitalpencil , he's called 'Adventure Guy'. I've had this stamp for a while, but never used it!!
The papers I chose are from Pink Petticoat from a collection called 'Big Fella'.
The boy is coloured with promarkers. I cut the image out with the spellbinder label 8 , the map had to be cut out first so as not to be cut off whilst going through my big shot. Note to all Big Shot users, I've just got the magnetic platform....I LOVE it, it makes positioning of dies, especially around images easy peasy!!!

I cut a blue mat using the same size die and just had it peeking out the top and bottom of the image.


The letters were also in the Big Fella collection, loved the dotty alphas! I framed each letter using          Clarity Stamps Letterbox kit, I stuck some letters on with foam pads and some were flat. 


The compass is cut from one of my first spellbinders dies, which had clocks and compasses on it ( sorry can't find it on the web!)


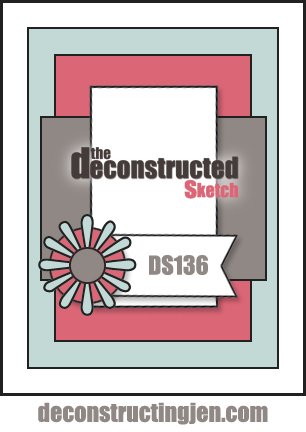
I based the card around Jens new sketch
Click on the image to go to her website.

Deconstructed Sketch No. 136
With that dotty alphabet I had to enter for the spotty challenge at mosdigitalchallenge

Hope you like todays card.
Happy Crafting
Clair xxx

Saturday, 1 February 2014

Just for you!

Post 41

On todays card I just HAD to use my Spellbinders Bracket Borderabilities, I just love the elegance they bring to a card.
I started with a plain white 6 x 6 card, onto that I matted some coredinations card ( the colour is so vibrant).
I then used the 'Tied together' embossing folder from Couture Creations to emboss some white card . I cut some more white card with my Bracket dies. These 2 pieces were carefully stuck together so the embossed card wouldn't be peeking through the decorative die cutting. And sized to mat onto the coredinations.


I felt the top of card needed something, so I dug in my stamps and found this perfect daisy stamp by   Chocolate Baroque  on a stamp sheet called 'Butterfly Daisy collage'. I stamped and embossed the daisy in white. Along the bracket edge I used a scrap of paper cut with the die, to mask the decorative cut outs from being stamped on.


I stamped the sentiment and stuck a frame, made with spellbinder Labels 4, over the top using foam pads to give the frame lift.
The card was finished with a ribbon tied in a double bow, and a couple of ivory tea roses from Wild Orchid crafts.


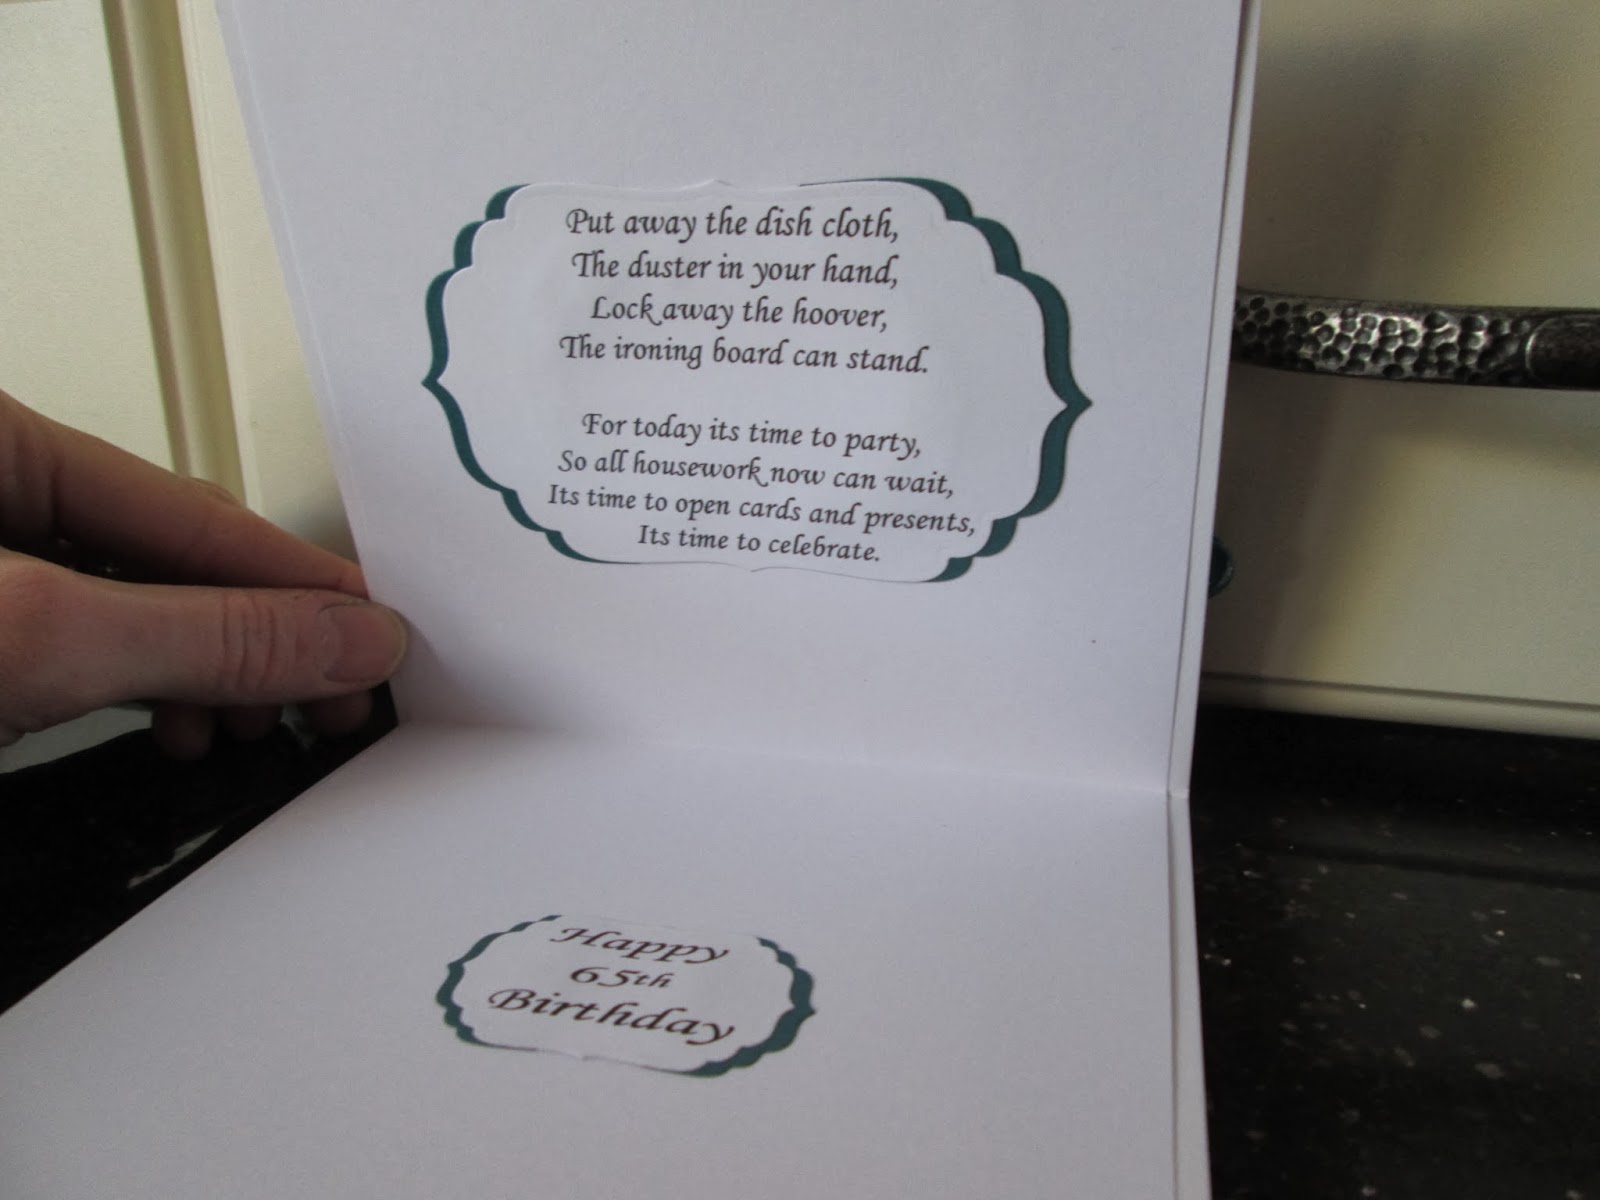
Inside the verse and sentiment were printed off and matted onto some more coloured card.


Because of the roses a box envelope was required.There is a link on my last post , 'Handbag' , to the tutorial on you tube to make this using the envelope punch board.


Hope you like todays card.
Clair xxx